


Tips for Early Planting

If you want to start early germination, I have the perfect guide that includes a step-by-step process of how to virtually plant any crop early. After doing it myself, I found it to be easy and practical, which is ideal for any producer. If these simple steps are followed, anyone can put their green thumb to great use.
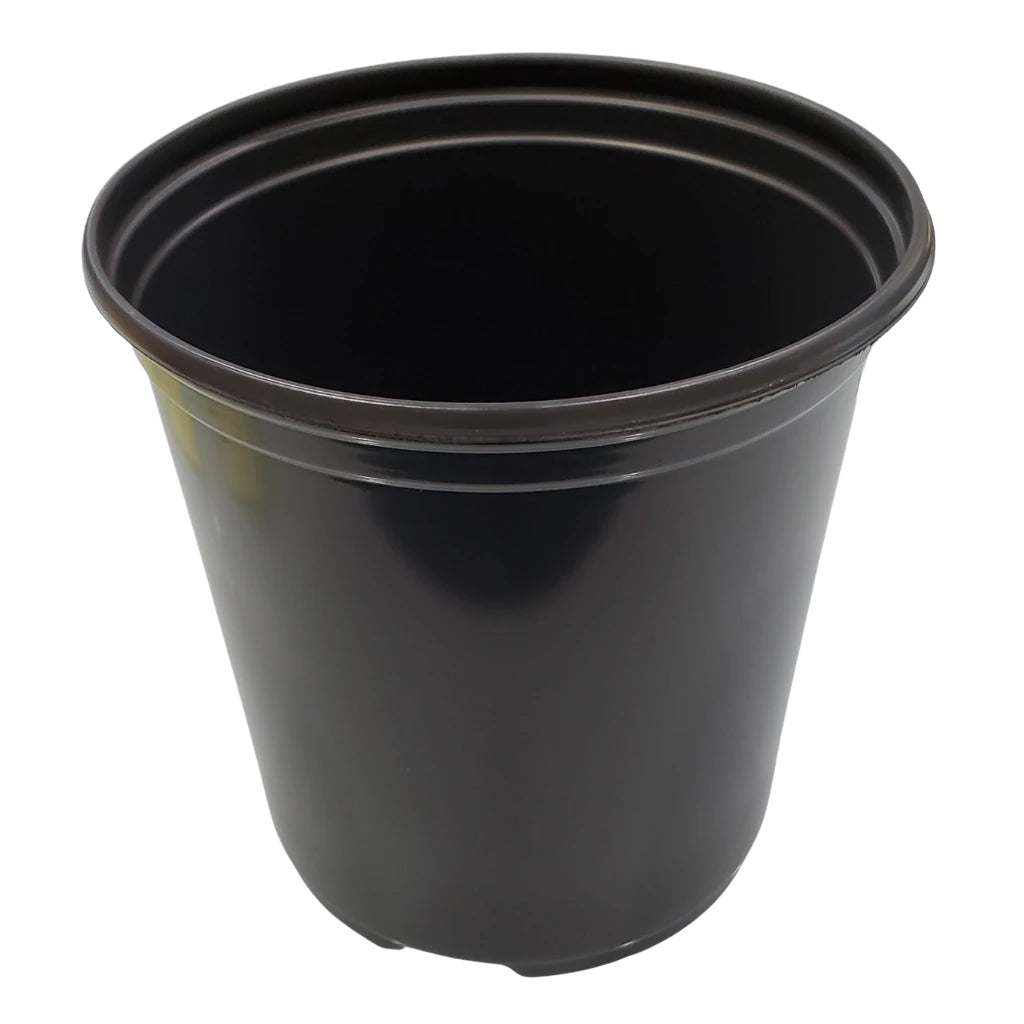
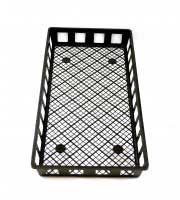
The first step is to pick a tray or an insert to directly plant the seed. You can use a row seedling flat, which is basically what it’s called; numerous rows where the seed and soil is placed, a regular flat tray, which can be used by making lines in the soil, but we will get to that shortly, or you can also use an insert, which comes in various sizes with various numbers of holes for the seeds. Once you have that figured out, you can choose a web flat, which is used for sturdiness. All of the web flats have holes in them to let the water drain out of the tray, travel through the web flat, and end up in the bottom tray that has no holes. So altogether, it consists of three parts: a flat/tray/insert, a web flat, and a flat.

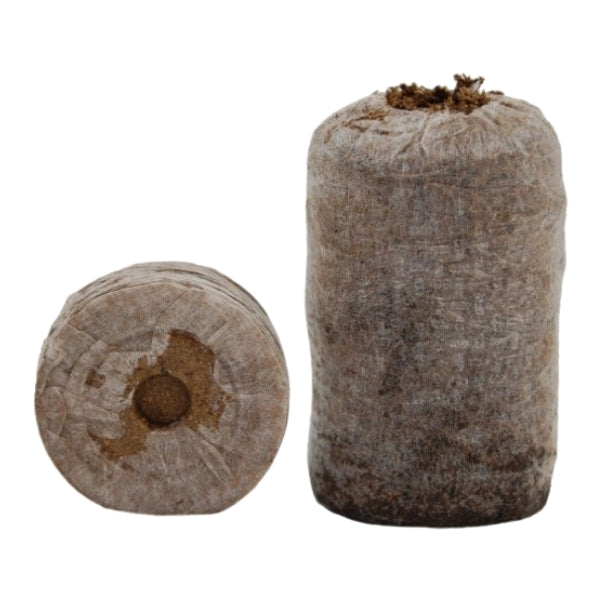
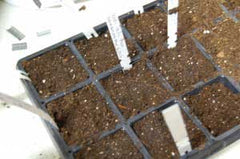
The second step is to fill the flat/tray/insert with your soil. I personally used NuMix #2, which is potting soil with a mix of worm castings in it to provide better growth for the developing plants and to aid in the prevention of disease. Make sure that the tray/insert is completely full, but not packed down to where it is unmanageable.
The third step is to plant the seeds. With a flat, place the seeds in the rows. When using an insert, you simply poke a hole in the center of each section and place 3-4 seeds in the hole or just scatter them on the soil in each individual insert and then recover with the soil. When using a tray, take a ruler and gently insert the ruler horizontally across the tray, making horizontal lines from one end to the other. You can do this as many times as desired, but I found 5-6 times less crowded and more manageable. Once you have done this, take the seeds and line them in the rows then recover.


The fourth step is labeling. Which type of labels you use is completely up to you; however, I used the MultiLoc Slip-On labels and stapled them to the side of tray/insert. You can also use the popular pylon white plastic labels or create your own. What type you choose is not what is important. The important thing is to get all the information on them such as the brand, what it is, and any other thing that might make it easier for you to identify the plant.

The fifth step is to water the newly planted seeds, after they have been re-covered. Simply take a spray bottle and dampen the soil. That part is pretty easy.

The sixth step is to set it on the rack or bench you plan to use. Whatever item you plan to use, make sure that a heat mat can be placed on it, along with lights above the plants, and is within easy access to a power outlet. Make sure all the mats and lights are turned on to make the seedlings grow.
The seventh step is to cover the rack or bench with the seedling on them with plastic all the way around and pin it to reduce the humidity and increase the temperature inside the enclosure.
Once all these steps are completed, the final step is to continue to check on the new seedlings. Make sure that they are kept watered efficiently and that the sources of heat are constant and do not quit working, and that is basically it. Overall, the procedure is easy and is a great way to get an early jump-start to your planting season.


