


Are you ready to embark on your gardening journey but unsure where to start? Starting seeds indoors is an excellent way to kickstart your garden and get a head start on the growing season. In this guide, we'll walk you through the process step-by-step, and we'll also highlight essential products you can find at GrowersSolution.com to make your seed starting experience a breeze.
Step 1: Gather Your Supplies
Before you begin, make sure you have all the necessary supplies on hand:
-
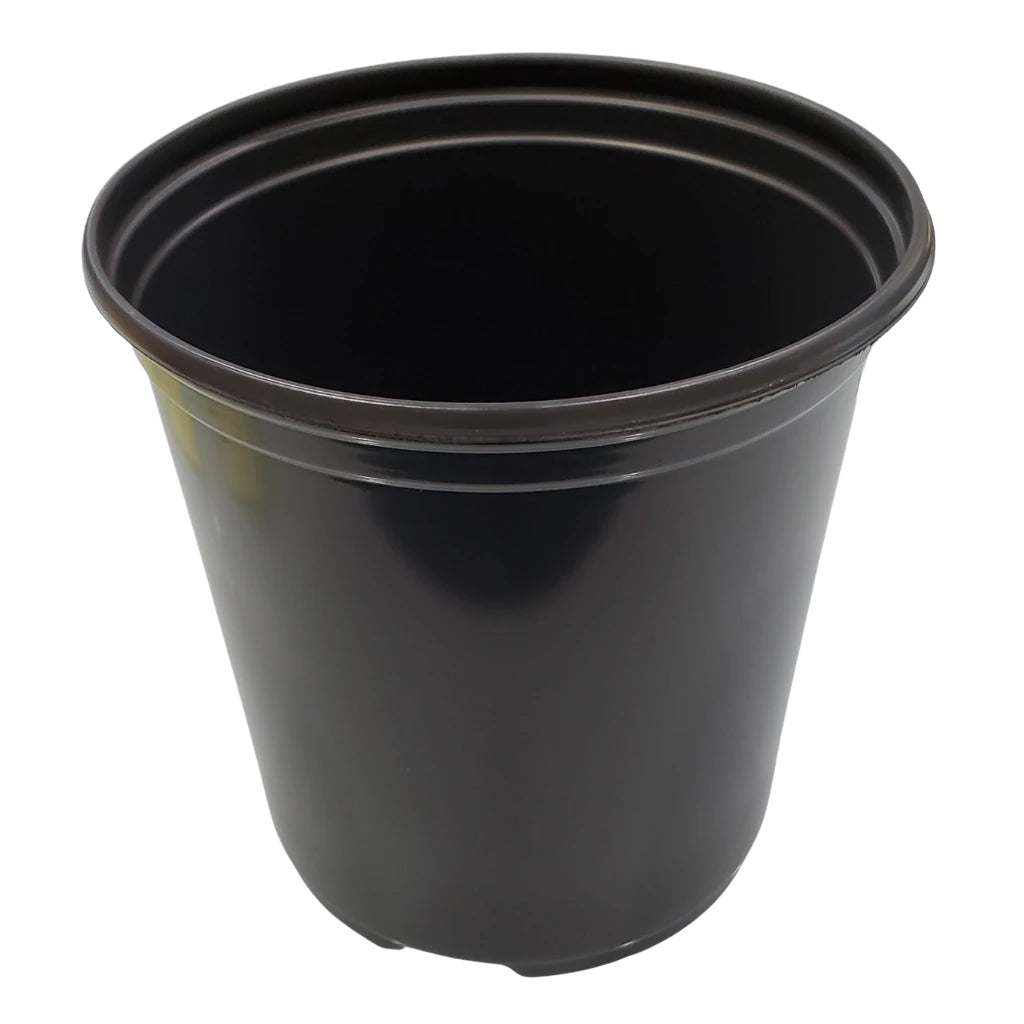
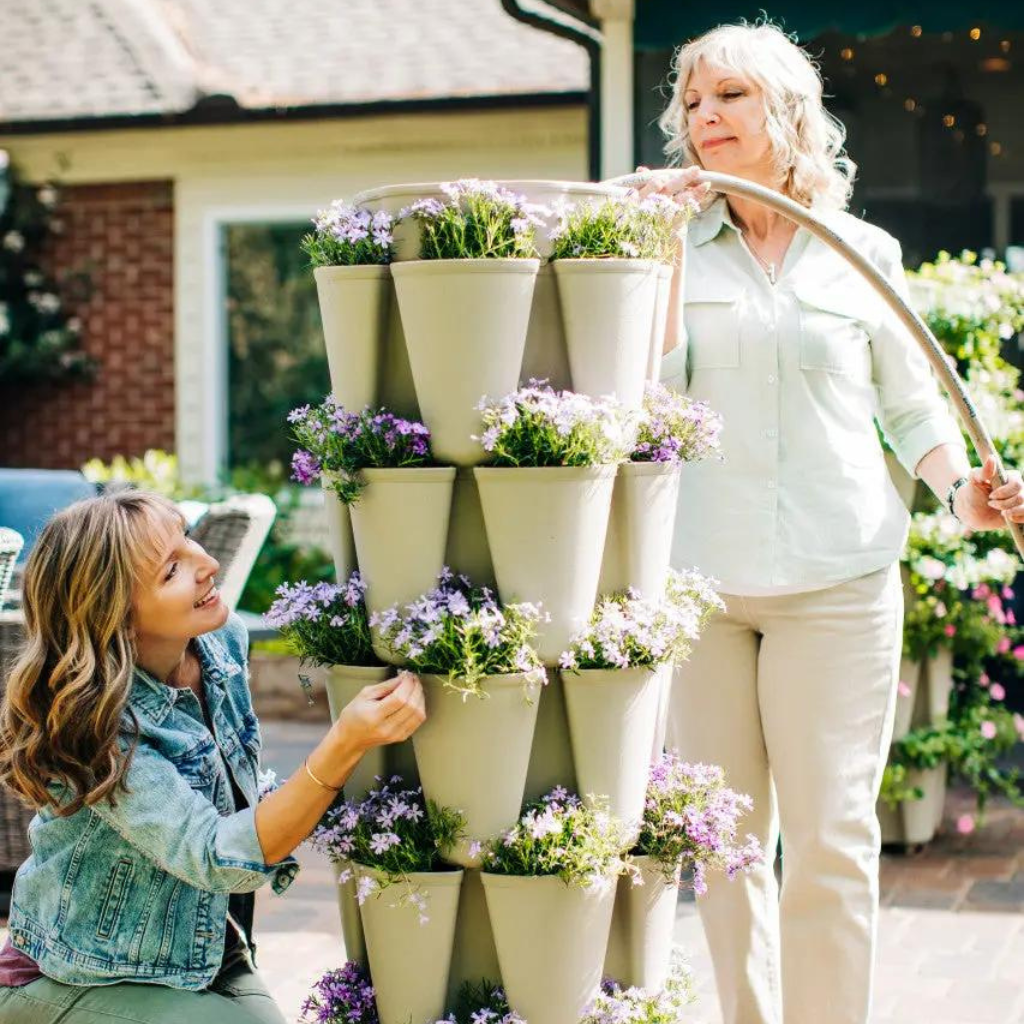
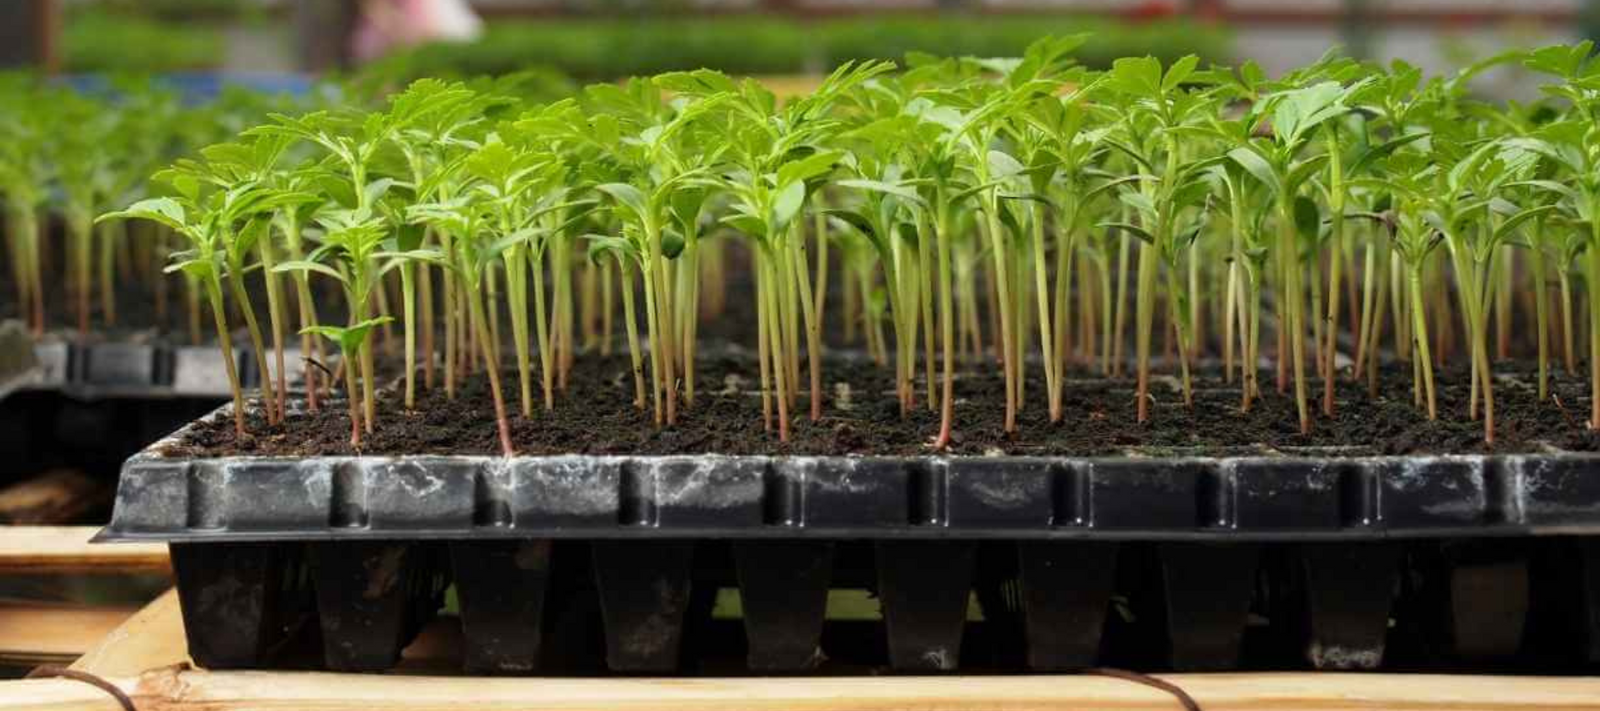
Containers: Choose seed trays or pots that have drainage holes to prevent waterlogging. Biodegradable pots are eco-friendly and can be planted directly into the soil once the seedlings are ready for transplanting.
-
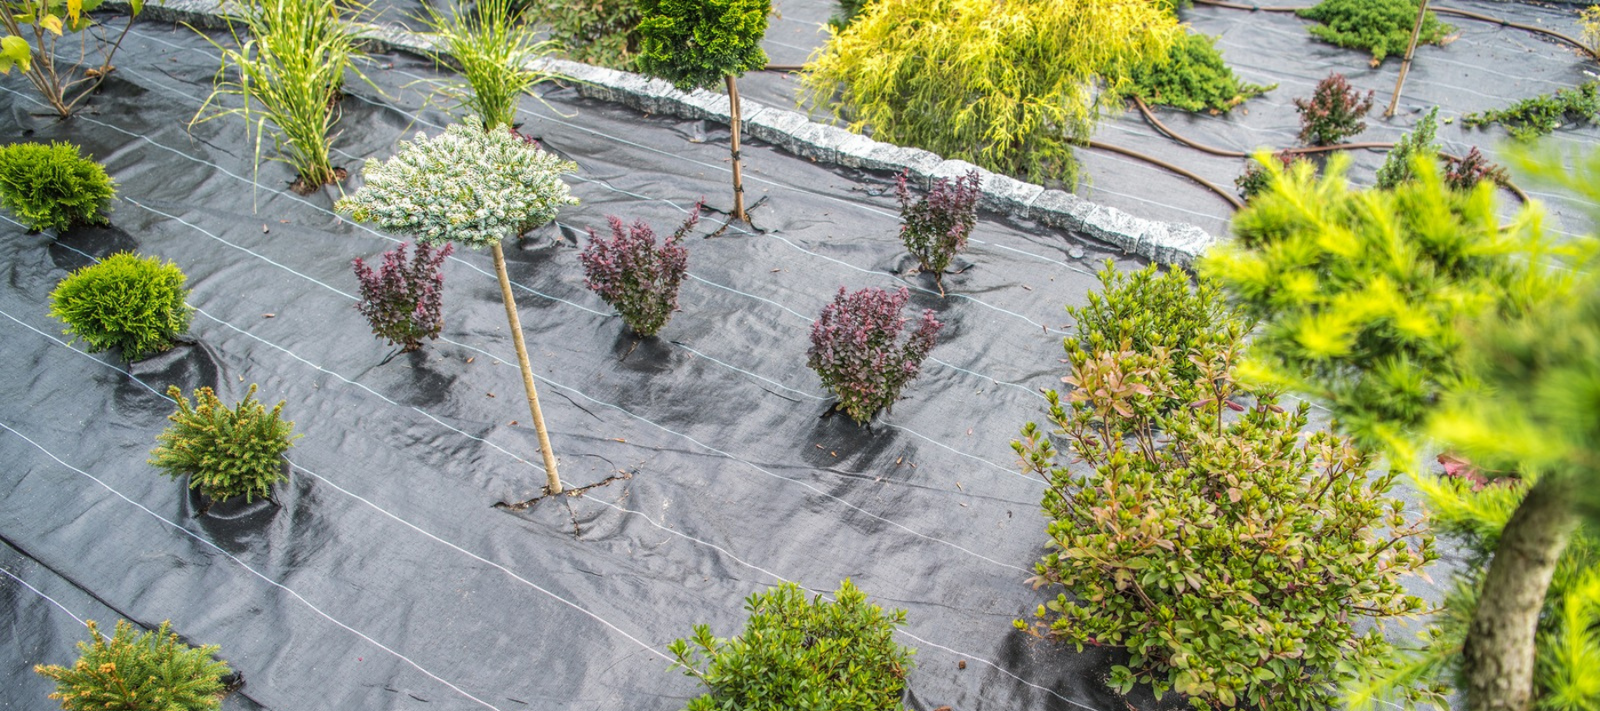
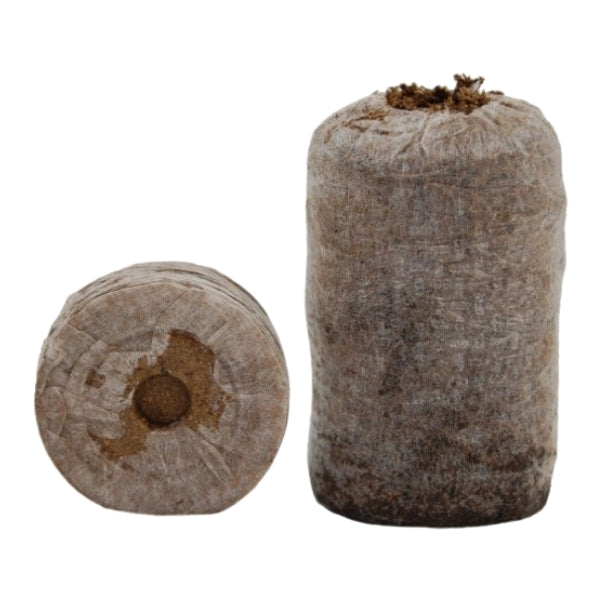
Seed Starting Mix: Opt for a high-quality seed starting mix that is light, sterile, and provides good aeration for the roots. Avoid using garden soil, as it can harbor diseases and pests.
-
Seeds: Select seeds of vegetables, herbs, or flowers that are suitable for indoor starting. Follow the instructions on the seed packet for planting depth and spacing.
-
Light Source: While natural sunlight is ideal, you may need supplemental lighting, especially during the early stages of growth. Grow lights, such as fluorescent or LED lights, can provide the necessary light spectrum for healthy seedling development.
-
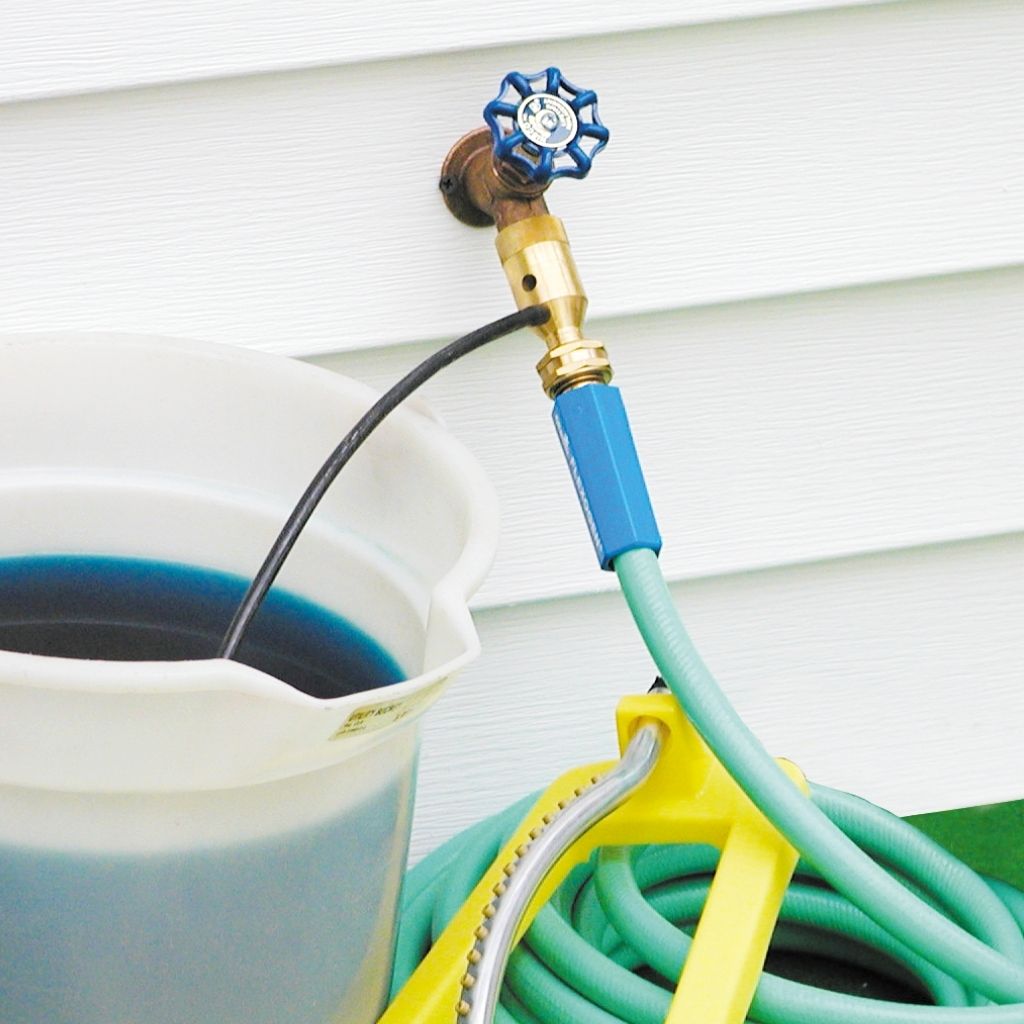
Watering Can or Spray Bottle: Keep the soil consistently moist but not waterlogged. A watering can with a fine nozzle or a spray bottle can help you control the water flow and prevent disturbing delicate seedlings.
-
Humidity Dome or Plastic Wrap: Maintain high humidity levels around the seedlings by covering the trays with a humidity dome or plastic wrap until the seeds germinate.
-
Optional: Heat Mat: Some seeds require warmer soil temperatures to germinate. A heat mat placed under the seed trays can provide gentle warmth and improve germination rates.
Step 2: Planting Your Seeds
-
Fill the containers with seed starting mix, leaving a small gap at the top for watering.
-
Plant the seeds according to the instructions on the seed packet. Cover them lightly with additional seed starting mix.
-
Water the soil gently until it's evenly moist but not saturated.
-
Place the trays in a warm location with indirect sunlight or under grow lights.
Step 3: Care and Maintenance
-
Keep the soil consistently moist but avoid overwatering, as it can lead to damping-off disease.
-
Rotate the trays regularly to promote even growth and prevent seedlings from leaning towards the light source.
-
Monitor the temperature and humidity levels, especially if you're using a heat mat or covering the trays with a humidity dome.
-
Once the seedlings have developed their first set of true leaves, you can start fertilizing them with a diluted liquid fertilizer.
-
Harden off the seedlings by gradually exposing them to outdoor conditions before transplanting them into the garden.
Products Available at GrowersSolution.com
-
Seed Trays and Pots: Choose from a variety of seed trays and biodegradable pots to suit your needs.
-
Humidity Domes: Keep humidity levels consistent with durable humidity domes available on GrowersSolution.com.
-
Heat Mats: Ensure optimal germination conditions with heat mats that provide gentle warmth to the soil.