


Drip Kit Assembly

Drip Kit Parts
Drip Kits are very easy to assemble. Below we have made as detailed a tutorial as possible to help you assemble one. Enjoy!
Below are the parts that you’ll typically find in a drip kit purchased from GrowersSolution.com.
 |
 |
 Pressure Regulator |
 |
 |
 |
11 Steps to the Drip System of your Dreams!
Hand modeling by Mike G.
Photography by “Growers Learning Studios”.

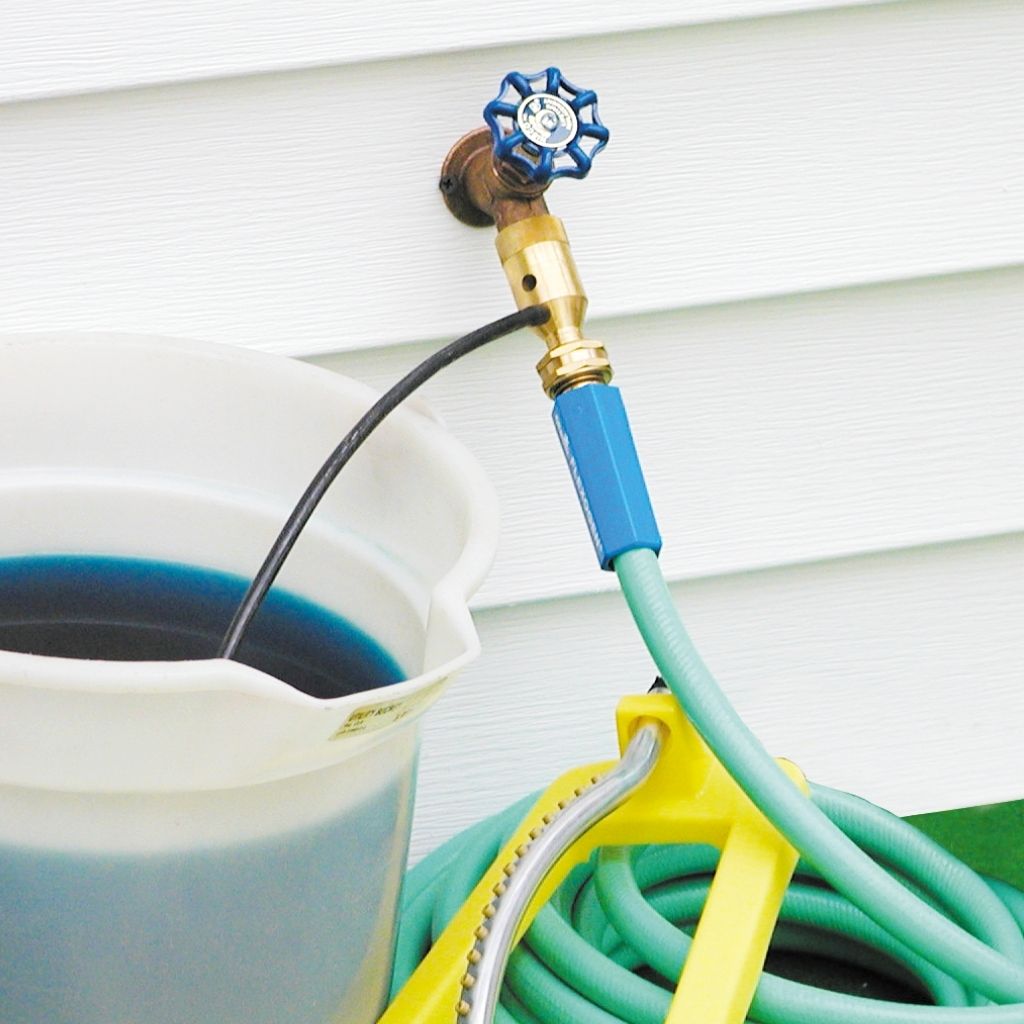
Step 1: Attach the Pressure Regulator(left) to the hose fitting adaptor(right).

Step 2: Attach the items from Step1 to the tubing(not to the drip tape itself!)

Step 3: Remember to tighten the nut down onto the tubing for a secure connection.

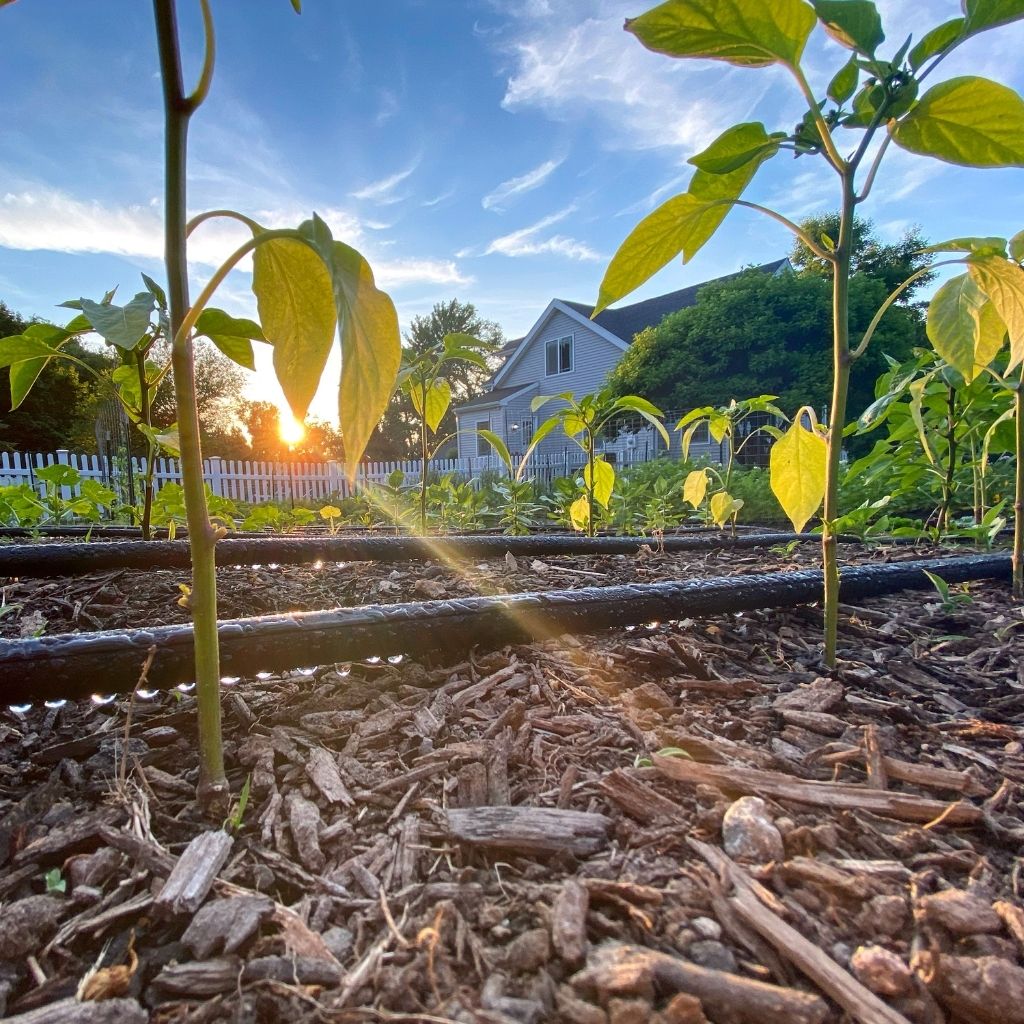
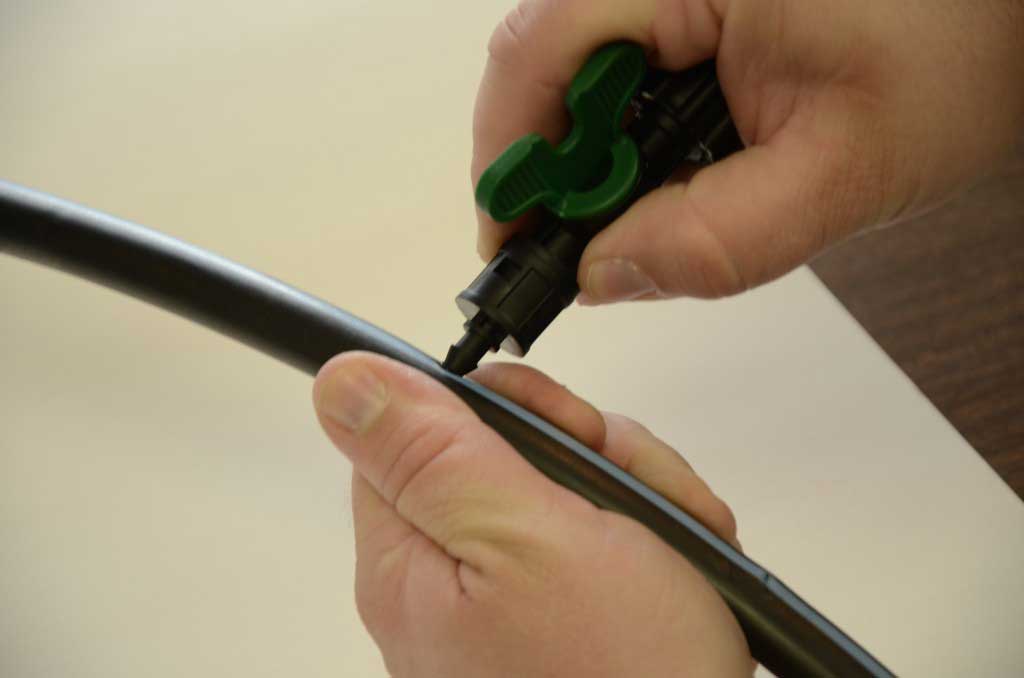
Step 4: Use the included hole punch to punch holes along the tubing where you want the drip tape to be attached

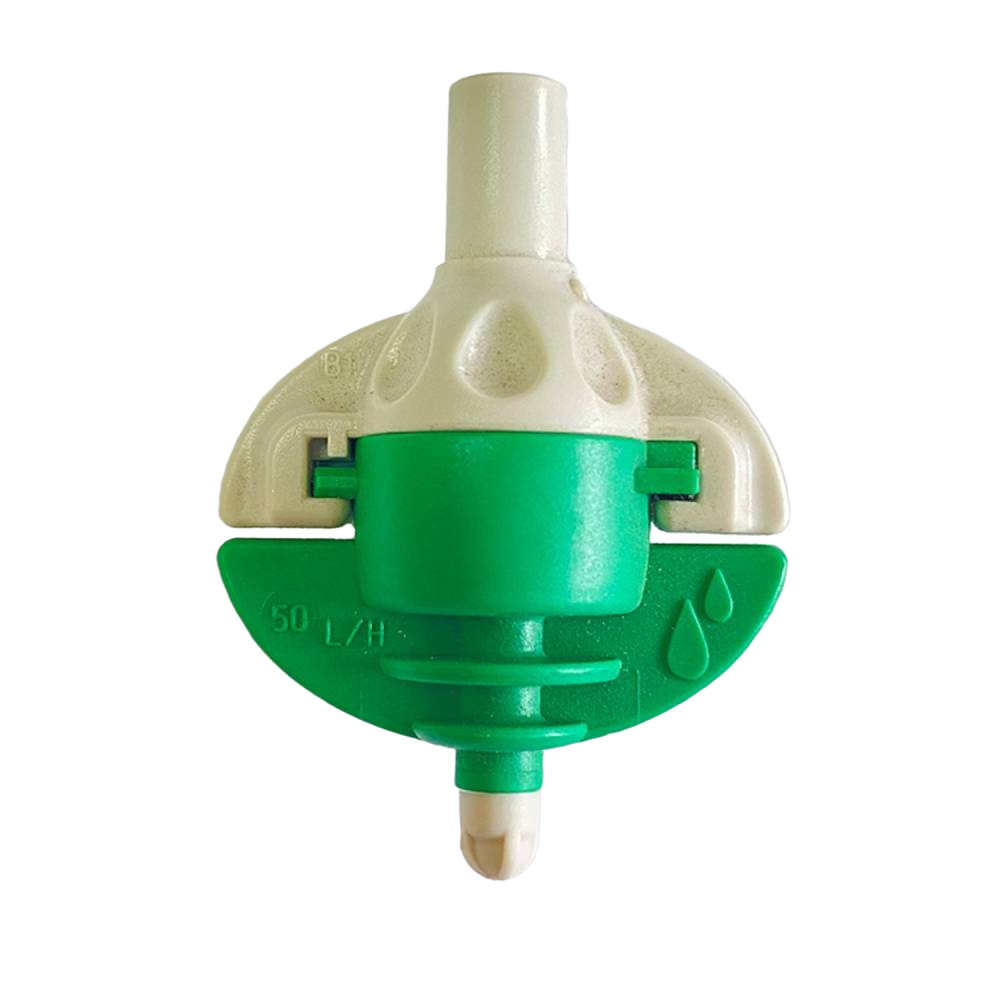
Step 5: Insert your Shutoff Valves into the holes made in Step 4.

Step 5(cont.) Make sure that the barb is fully inserted and locked in.

Step 6: Insert Drip Tape onto the other end of the Shutoff Valve and tighten the nut down onto the tape.

Step 7: Cut a small piece of tape off the end of the Drip Tape

Step 8: Fold the end of the Drip Tape over itself twice

Step 9: Roll the folded Drip Tape slightly and insert it into the piece of Drip Tape cut off in Step 7

Step 10: Slide the Figure Eight onto the end of the Tubing

Step 11: Fold Tubing over and insert into the other end of the Figure Eight

Step 11(cont.) Finished end


